 |
 |
|
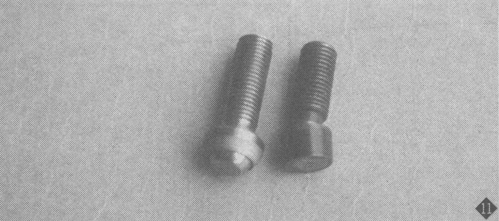
Two types of swivel feet. |
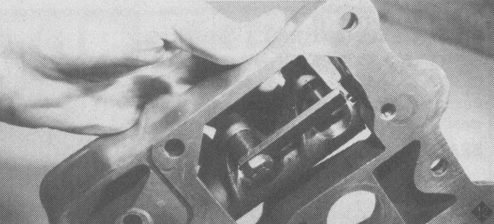
Setting the swivel feet. |
|
 |
 |
|
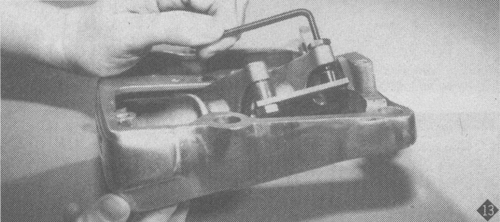
Adjusting the feet. |
Setting the feet after adjustment. |
|
 |
 |
|
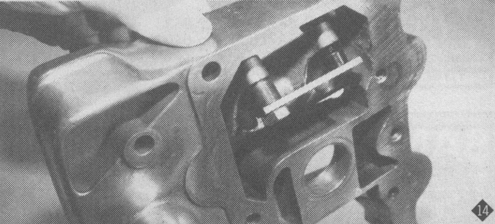
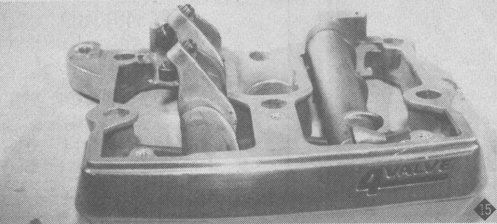
Rocker boxes with arms installed. |
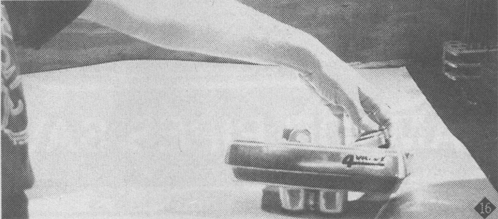
All done. |
|
|
Through
the years there have been numerous swivel feet used and although they
all work, I prefer what I call the cup type over the ball type. I feel
that they give better swivel foot to valve stem contact. No matter what
type of swivel foot you use, they must be set properly so as to retain
the correct rocker arm ratio. The bottom of the swivel foot should be
.456 from the bottom of the rocker arm. There are numerous ways to do
this, but the method I use is quick and accurate. I temporarily remove
the swivel foot closest to the pushrod from the arm and install a tool
with a .456 spacer. Then I adjust the swivel foot furthest from the
pushrod until it just touches the bar of the tool without deflecting it
and lock it in place with the jam unit. I remove the tool and replace
the swivel foot but turn it all the way in for adjustment later. This is
done to all the rocker arms. When
installing rocker boxes on heads, make sure 0-rings are in place and
swivel feet are flat on valve stems. Torque to 200 inch/pounds and then
to 240 inch/pounds.
Depending if you are using one piece or adjustable pushrods, the
procedure will be slightly different. If you are using one piece push
rods, be sure they are the right length. Do not assume because they came
in a kit they are correct, because chances are they are not. Turn the
engine over so that the lifter you are working on is at its lowest
point. The push rod should spin using two fingers and slight pressure.
You can change the swivel foot you previously adjusted but it is
suggested that you turn it no more than a half a turn in either
direction. Once that is done, turn down the swivel foot closest to the
pushrod until it just touches the top of the valve stem and set lock
nut. Repeat for this procedure for the three other rocker arms. If you
are using adjustable pushrods, follow the same procedure by turning
the engine so the lifter is at its lowest point. Take all of the slack
out of the push rod and adjust out the number of turns recommended by
manufacturer. The turns necessary may vary due to the amount of
threads per inch. Do not change the adjustment of a pre-set swivel foot.
Set the swivel foot closest to the pushrod as previously described. Oil
rocker arms, swivel feet, and general rocker box so you have plenty of
oil there until the engine pumps some up. Install rocker box covers,
close up pushrod covers, etc. When ready, start the engine. You should
not hear any valve train noise. On some occasions there may be some
noise for a second or two until the lifters pump up, but that should go
away as soon as the system is well oiled. Now I
have some news for you. American Quantum Cycles, a motorcycle
manufacturing company in Melbourne, Florida, has bought the rights to
these four-valve heads. They have improved the tolerances, made
refinements to them, and are featuring them on their motorcycle. They
are using the cup style swivel feet and have come up with a new, thicker
rocker box gasket that has a bead of silicone built into it. The gasket
virtually stops all cover leaks. Of course, all the other parts you may
need in order to repair your set of four-valve heads and rocker boxes
are available. New four valve head assemblies and complete four valve
big twin engines are also available. -Rogue
|
||
| For more information, contact Melissa Kirkpatrick at American Quantum Cycles: Phone (407) 752-0008; fax (407) 752-0550 | ||