
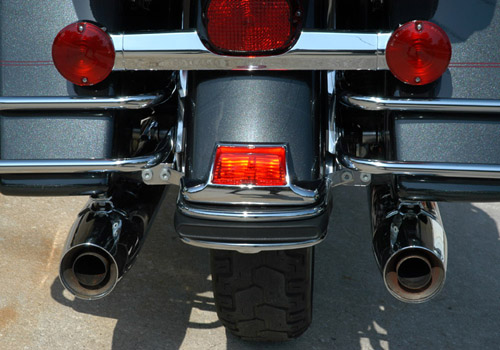
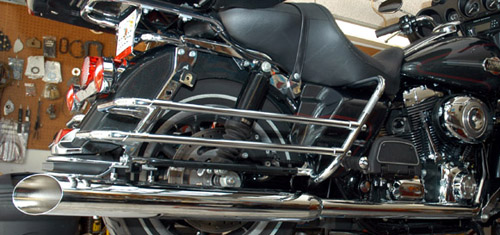
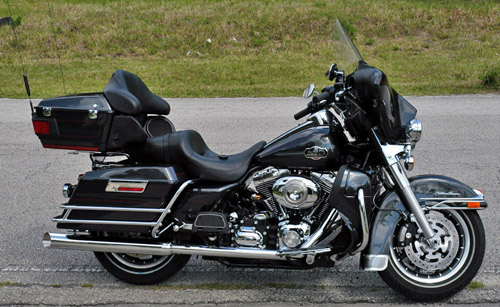
Here's the factory exhaust
still in place.
When my son Dale bought a
2008 Harley FLHTCU it didn't take him long
to ask me what he could do to the exhaust
system.
My answer, "a lot." He needed
to be more specific.There's so much a guy
can accomplish with a change, as different
systems provide different results. What we
came up with was to use a true dual system
so the appearance of the motorcycle would
not change drastically, and there's other
benefits.
The D&D Duelie pipes (part
516-22D) were chosen because they looked
good and would enhance performance by giving
the rear cylinder its own pipe providing a
true dual exhaust. Adding a set of D&D 3.5-
inch slash cut mufflers (part 408-12S) would
produce a good sound without being
offensive.
It wasn’t until I actually
received the exhaust that I saw the quality
of construction, heavy gauge of the metal,
with oxygen sensor bungs welded in place,
flawless chrome, and heat shields already
installed that I really became impressed.
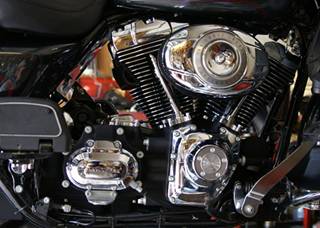
Everything removed and ready
for the D&D installation.
I started off by removing the
saddlebags so everything was easy to reach.
Next move was to remove the factory heat
shield with a 5/16-1/4 drive socket (a
common screwdriver may also be used).
Using a 9/16” socket I
loosened the clamps at the mufflers and
sprayed the joints with PB Blaster
penetrating oil. While it was working I went
to the rear of the muffler and used a 1/2
inch socket to remove the two bolts from the
muffler bracket under the bags. The muffler
was removed by shaking loose and pulling on
the stuck bastards. Exhaust does nasty shit
to fasteners and connections, be patient.
I disconnected the wiring for
the Oxygen Sensors but opted not to remove
them from the pipe until I had it off the
bike. It's always a good notion to
disconnect the battery.
From the left side of the
motorcycle using a 3/8 ball end Allen, with
a extension, I removed the right floorboard
where the brackets joined the frame under
the bike. Removing the clamp on the pipe by
the transmission and the two nuts holding
the pipe to the head it came off easily.
The pipe on the left side was
removed in the same manner. It should be
noted that the bracket tab on the rear
exhaust support bracket was also removed.
There was no need to remove the exhaust
flange off the old pipes as the new pipes
have them on already. Lots of new exhaust
systems don't come with shit from the
factory, but that's not the case with D&D.
They supply most of the fasteners, spacers
for the floor boards and mufflers, the
flanges in place and the heat shields
installed. You just need the exhaust flange
nuts and new exhaust head gaskets.
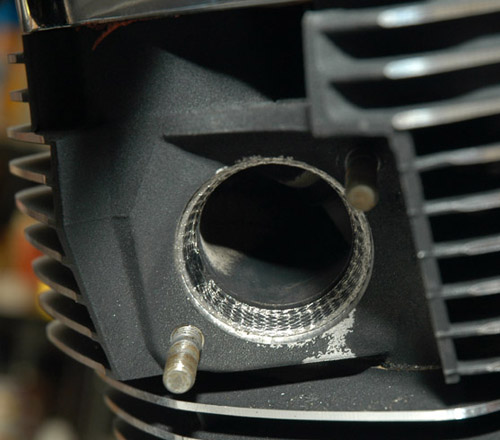
New exhaust gasket carefully
installed.
With the factory system
removed the exhaust gaskets were replaced in
the head and the Oxygen Sensors were removed
from factory pipes and installed into the
new ones. A small amount of Anti-Seize was
applied to the threads with care taken not
to get any on the sensor tip! I torqued them
to 30-44 Foot lbs.
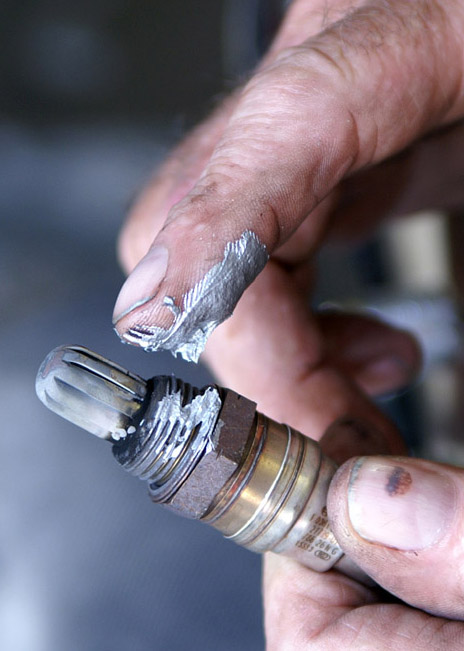
Anti-Seize
on the tip was cleaned before sensor was
installed
The right side pipe was
fitted to the head. All the fasteners were
installed all the way to the muffler. It was
left loose and checked for position and fit
before tightening, beginning at the manifold
and working back. Then using a ½-inch
3/8-drive socket the top nut tightened. I
was pleasantly surprised to find a cut out
in the heat shield for the bottom nut that
allowed the socket to fit without the
problems that I have experienced with other
systems. Clearances were checked and the
bottom nut on flange tightened to 100-120
inch lbs. followed by the top one to the
same specifications.
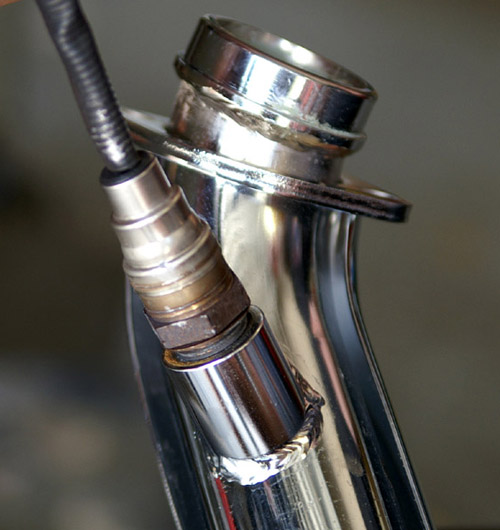
If the sensor is not
disconnected from the system, we would be
forced to twist the wire lead counter
clockwise several revolutions before
screwing it into the bung.
The tranny bracket welded to
the pipe fit the bracket on the transmission
without shimming. The muffler slid in with
ease and could be felt to bottom out on pipe
lip. The clamp was tightened enough to hold
muffler in place as the two black spacers
provided in kit were installed under the
saddle bag hanger to align the muffler with
the entire system. Some bikes need the
spacers, others don't. The bolts were
torqued to 96- 144 inch lbs while
alternating tightening. The muffler clamp
was not fully tightened at this time.
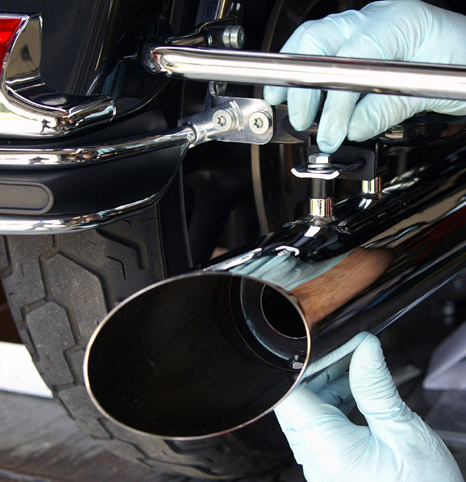
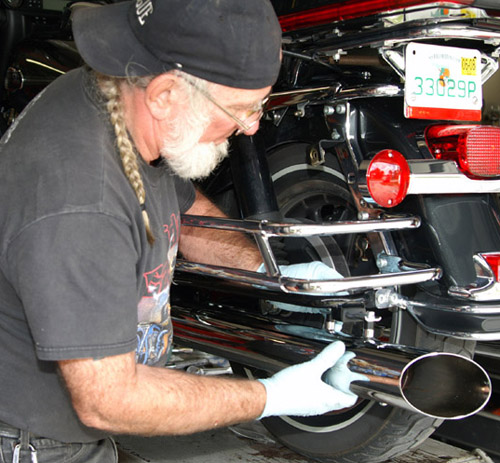
Most mechanics wear gloves to
protect their delicate skin, but Rogue does
it to protect the chrome finish.
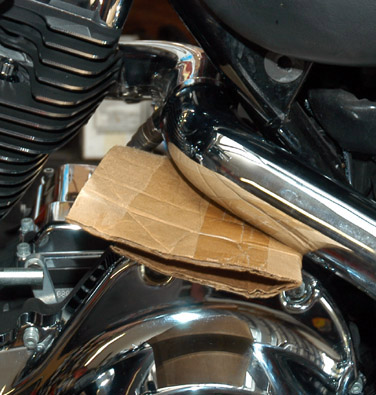
Moving to the left side of
the motorcycle the rear pipe was installed
in the same manner as the front. I use a
piece of folded cardboard between the
transmission, primary and the pipe, to hold
the pipe in position until I install
fasteners. Once everything is in place all
fasteners are tightened from the manifold
back.
From the rear of the
motorcycle the mufflers were positioned so
they are even and then the clamps were fully
tightened. While I was connecting the wires
for the Oxygen Sensors and re-installing the
floorboard, with the spacers provide in the
kit, my helper installed the side covers and
saddle bags. A final check was made that
everything was installed and tightened
properly.
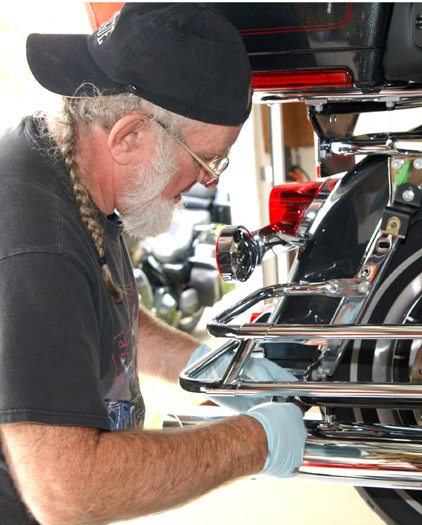
Even though I use gloves
while doing the job the pipes were wiped
clean just to make sure there wasn't
anything on them that would leave a stain
when the pipes got hot. I cure the chrome by
running the engine at idle speed for about
one minute. Let motorcycle cool and repeat
3-4 times.
Depending on your motorcycle
you may have to make some adjustments to
your fuel system. I rode the motorcycle and
was quite happy with how it sounded and
performed. I also did a sparkplug color
check and everything got a thumbs up!
I mentioned to my helper that
I do not remember the last time a job went
so well and everything fit like it was
suppose to. He had recently installed
another brand of exhaust on his bike and
said it was a lot of work to get it to fit
correctly.
To keep the pipes clean, wipe
down with Rubbing Alcohol and shine with
Glass Cleaner. DO NOT USE HARSH ABRASIVES!

When I delivered the bike to
my son, Dale, and told him to take it for a
ride, the Big Smile on his face told me we
made the right choice with a D&D exhaust.
For more information on D&D
and their products check their website
http://www.danddexhaust.com/
or contact their office at D&D Performance
Enterprises, 2923 Edith Lane, Fort Worth,
Texas, 76117. Phone 817-834-8961