There are definitely advantages to
signing on to Bikernet.com. I was checking out the site
when I noticed a device named True-Track,
designed by Wil Phillips of RubberTail fame. I contacted
Bandit about it, and he arranged for me to receive one
for technical analysis.
I have customers and brothers who
complain that their Harley- Davidson rubber-mounted
models such as Dressers and Road Kings experience
handling problems at high speeds.
Many bikes check out fine or need minor
adjustments, which are well within factory
specifications, but they still don't handle securely.
These riders spend a lot of money, yet
were still not satisfied with the ride. The speed limit
in most places is 70 Miles Per Hour and most riders push
the limit on a motorcycle not designed to go over 100
MPH. Stability problems can also occur at slower speeds
of around 60-65 MPH when traveling on curved or sweeping
roads.
One of the causes of this is problem is
called "Rearsteer" and happens when the swing arm rubber
mounts compress. This situation allows the rear wheel to
change direction slightly and actually pushes the
motorcycle on a separate tack from the front end. I call
that "walking" when the scoot seems to drift back and
forth. An uneasy feeling, especially when passing
18-wheelers at 90 mph.
When aligning a rubber mounted drive
train, I start by insuring the rear axle and swingarm
shaft are exactly the "Same Distance" apart on both
sides of the motorcycle. Then I use two 8-ft fluorescent
light bulbs for wheel alignment. I secure one on each
side of the rear wheel. They run the length of the
motorcycle and end up on either side of the front wheel.
Using the front stabilizer link, I adjust it until the
front wheel is exactly in the center of the light bulbs.
The rear wheel is now set to push the motorcycle in a
straight line, that is until the rear fork moves in the
rubber bushings. When the force moves the bushing right
to left, or left to right, instead of just up and down,
it causes the rear wheel to change direction. No longer
is the bike rolling in a straight line.
There is a kit available, now, that
addresses this problem, for 1994-2003 Dressers and Road
Kings EVO/TC 88 with Oil Pan Transmissions. The
True-Track is easy to install. You can handle it at
home, with a few basic tools. You don't need to jack the
bike up, although we did for photographic purposes. A
Torque Wrench is a must. If you do not have one, buy or
borrow one.
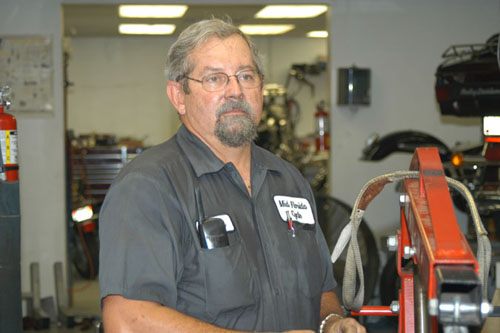
Dennis Mitchel of Mid Florida Cycle. The scientist
behind this report.
I did not have one of those model
available, but as it turned out my friend Dennis Mitchel
who owns Mid Florida Cycle, in Palm Bay Florida, did. As
a matter of fact he had just dropped his in some curves
so he was ready to try the "True-Track".
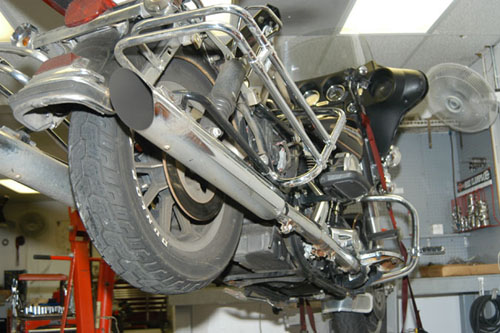
Dennis raised the dresser for photographic access.
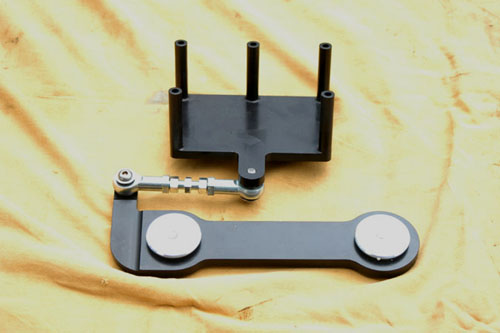
The Truetrack is made from 6061 T6 Billet
Aluminum and I was very impressed with the workmanship.
Total installation time was approximately 15 minutes.
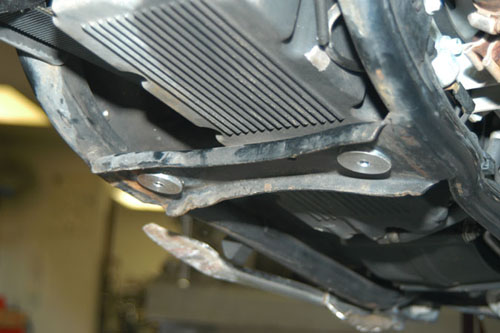
The two mounting cups in place.
We started off by cleaning and
straightening the rear cross member and then installed
the two plugs from the top and attached the Dog Bone
into place from the bottom. We used blue Loctite on the
3/8-16 flat head Allen bolts. We bolted them in and
torqued them to 30-foot pounds. Be sure to use a torque
wrench.
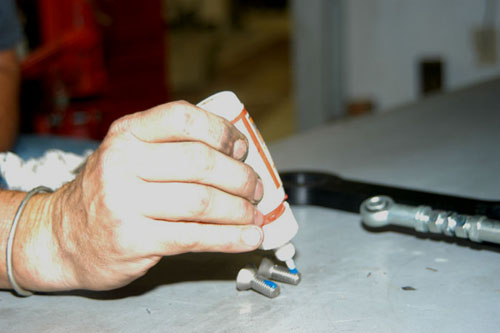
Don't forget Permatex Blue Loctite.
Mounting the dogbone to the frame.
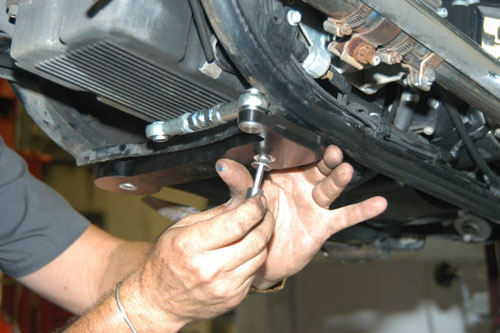
We decided to disconnect the stabilizer
link to double check the adjustment. Next, the five
bolts at the rear of the oil pan were removed. Blue
Loctite was added to the (5) 1/4-20 long stainless steel
Allen bolts that come with the kit. The True-Track
bracket was installed and torqued to factory
specifications.

Installing the True-Track bracket to the oil pan.
The stabilizer link was checked to make
sure it was adjusted correctly and blue Locktite used on
threads.
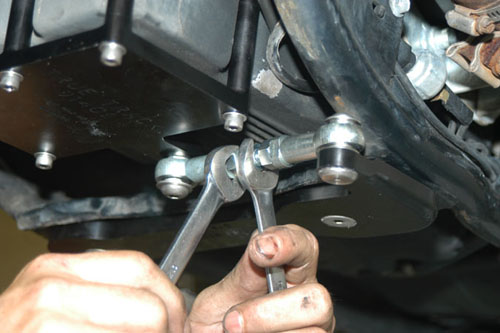
Adjusting the Stabilizer link for final alignment.
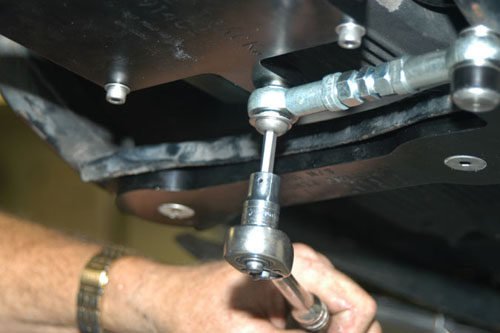
Make sure to torque the bolts properly.
That's it. It is almost too simple.
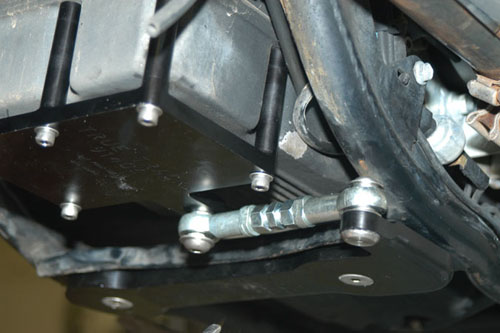
The True-Track in place and ready to rock.
Dennis took the bike for a ride and came
back smiling. I knew that the True-Track had
worked.
The True-Track works just like the
front and top stabilizer links to keep the engine
centered in the frame. With the TrueTrack installed, the
rubber mounts can not compress or move from the left to
right, by the force of the rear tire. They can only flex
up and down like they were designed.
For more information or purchase one of
these units contact Devin at 818-445-6204, or True-Track.com.
Tell him you heard about it from Bikernet.com
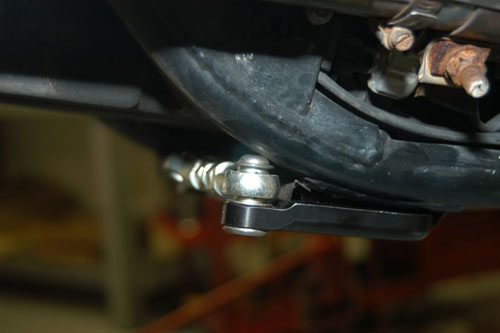
Shows the clearance from the joint to the frame.
--Rogue
Motorcycle Hall Of Fame Member 2005
www.bikerrogue.com
This
article is
from
BikerNet.com