
The new Terminal Velocity.3 by Terry Components is
the only “Closed Loop” Fuel Management System for Harley Davidson’s
that works with factory calibrations and uses factory ECU and all
factory Sensors.
Units are available to fit Harley models from 1995 to
2009 including 2008 & 2009 Throttle by Wire Models. It uses quick
connect plugs for easy installation and no manual adjusting is
necessary. It automatically adjusts as you ride and re-calibrates
for specific changes made to the motorcycle such as pipes, air
cleaner, etc. No need to spend money on Dyno time and or beating up
your engine while doing so.
By installing performance pipes, air cleaner and the
Terminal Velocity 3, you can increase horsepower and torque up to
20% on most bikes.
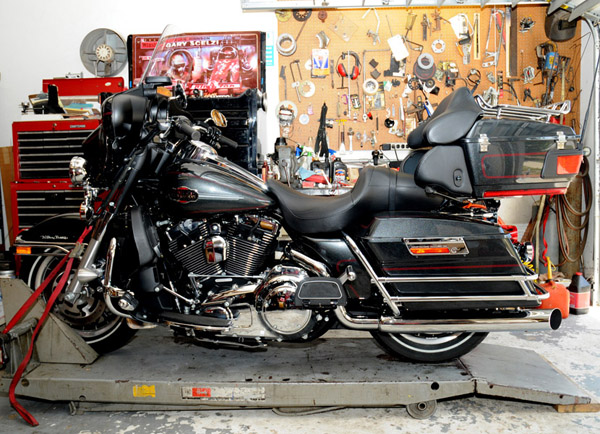
I installed this on a 2008 Harley FLHTCU with
throttle by wire. The motorcycle already has a D&D exhaust system
installed on it and I installed a Harley Screaming Eagle air
cleaner.
Start off by removing saddlebags, side covers, seat,
dash console, and gas tank.
Remove the air cleaner assembly. Disconnect the
negative battery cable. Open the plastic wire harness tray cover.
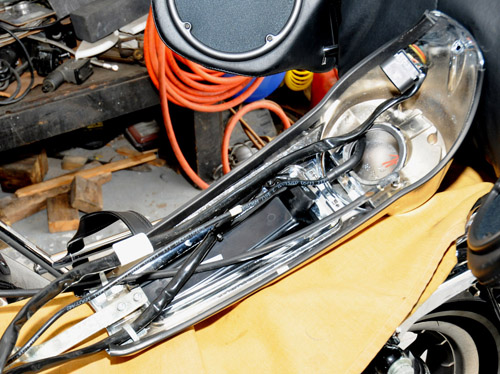
Set the dash upside-down on a chemise or soft rag.

Air Cleaner gone, note the plastic wiring loom cover
on the top of the frame rail.
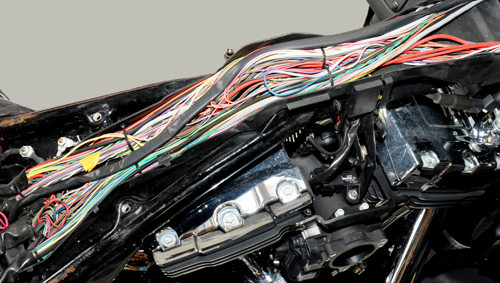
Factory Wiring Harness
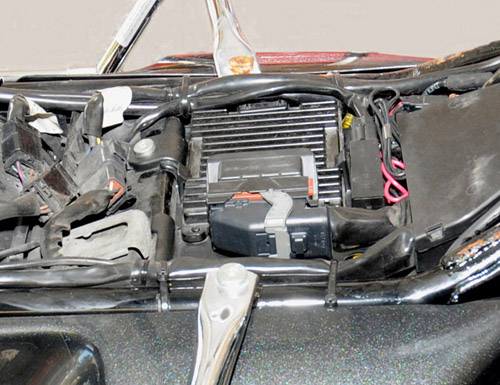
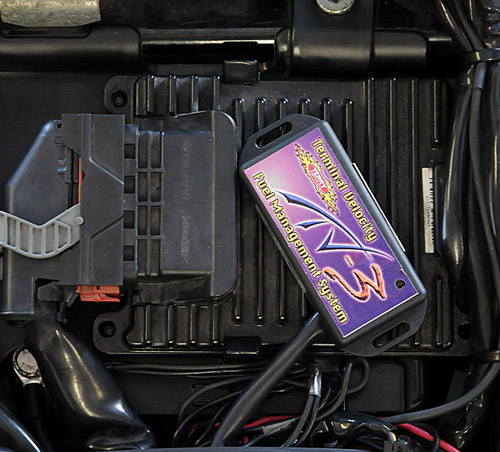
Place the TV-3 on the cover where the Engine Control
Module (ECM) is located (above battery and under seat) and run
harness in tray and through opening where original Throttle Position
Sensor (TPS) wiring is. The TPS sensor is located on the left side
of the throttle body. Plug the (2) TPS connectors from the Terminal
Velocity in between the TPS sensor and the factory TPS connector.
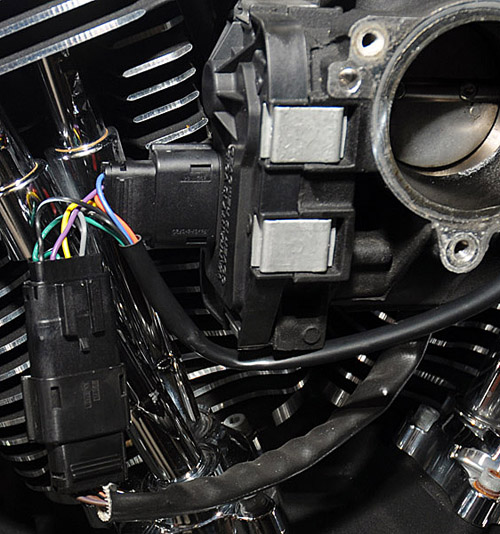
Here's that TPS next to the throttle body.
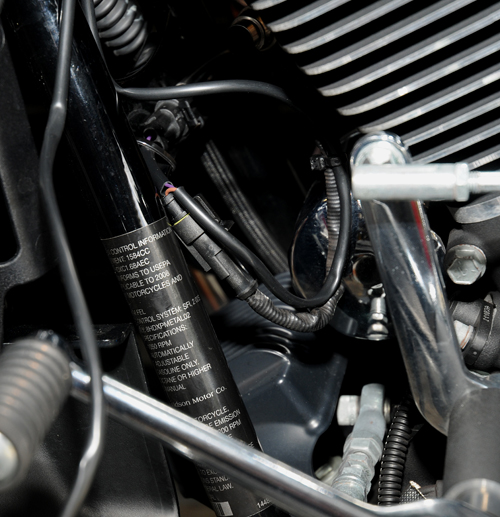
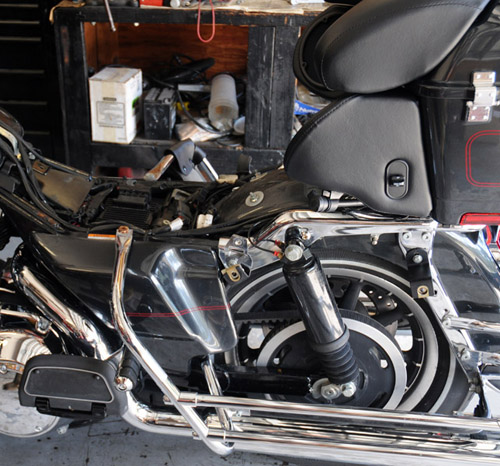
This shows the position of the crank position sensor
(CPS).
Unplug the Crank Position Sensor (CPS) connector
which is located at the lower front crankcase area. Route TV-3
harness along the frame and plug the connector from the harness into
the factory connectors.
Do the same with the connector to the factory O2
Sensor in the front exhaust pipe. Run the wire to the rear sensor
down the rear of the frame on the right and connect to factory
wiring.
Re-install the cover on the harness tray.
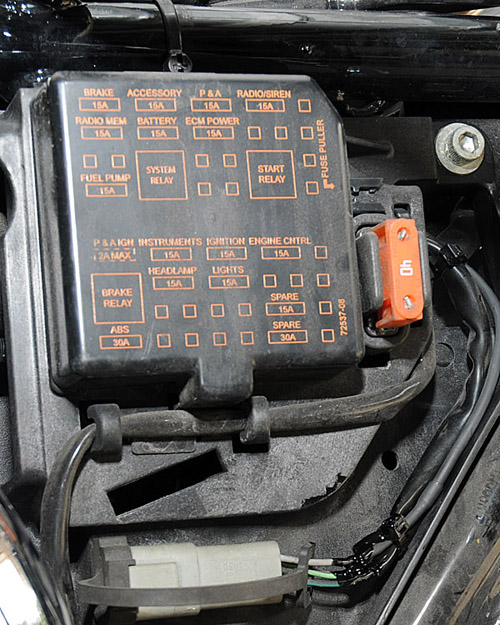
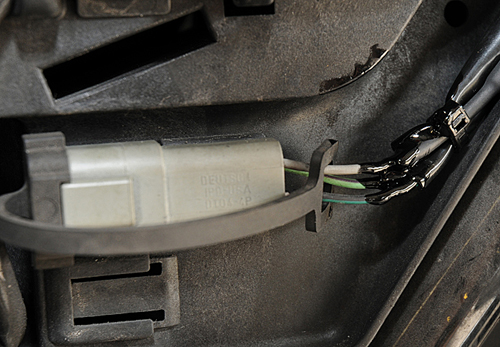
There are two power sources on the 2008-09 throttle
by wire systems. The red wire is run to a source that supplies 12
Volts when the key is turned on. Recommended connection point is at
the Data link Connector located under the left side cover. Connect
to the Grey Wire which is pin number 4.
The kit comes with a T-Tap and blade terminal, but I
prefer to solder and electric tape and or heat shrink which I did.
The red wire with the white tracer and eyelet on it
attaches to the positive side of the battery. Re-install the battery
ground wires.
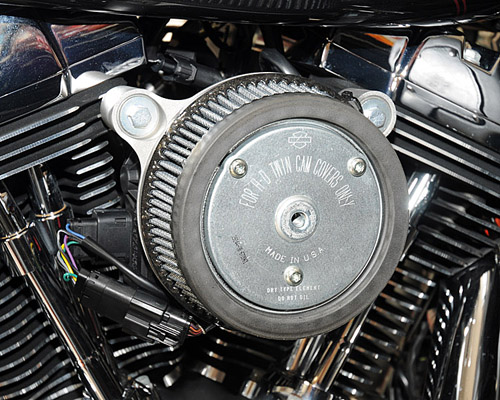
I recommend using a torque wrench and Loctite where
it is called for. I then installed the new air cleaner, or if you
are not doing that, put the stock unit back on.
Re-Install the gas tank, dash, side covers and saddle
bags. Wipe down areas that may have fingerprints and or oil base
smudges. I opted to Velcro the TV3 to the cover it sat on, just
because I felt like it.
I turned the key on and the LED light on the TV3 came
on and blinked red indicating it had power. I then started the
engine and about two minutes later the red light turned green
indicating the system had gone into the closed-loop mode.
The engine did seem to be idling high, but I had
expected it would until the ECM made its adjustments.
I installed the seat and went for a ride. About two
miles down the road, I stopped for the traffic light and the engine
returned to the proper idle. I continued to ride it and felt
improvements as I did. After 50 miles I returned to the garage. I
fired up an industrial fan and aimed it at my engine, and when it
cooled I checked the sparkplugs for color--Right On The Money.

High security at Rogue's shop.
When the owner rode the bike he commented on the
extra power and how well it was running. It was a very easy job to
do and one that most riders should be able to handle at home.
For more information
contact Terry Components, 2916 E. 4th Avenue, Spearfish, SD. 57783.
Phones are Toll Free 866- 388-3779 / 605-642-5300
Web Site
http://www.terrycomp.com/